
Every walking pad belt wears out eventually — usually after a few thousand miles. Walking pad belt replacement sounds intimidating, but it’s one of the most doable DIY repairs: no wiring, no soldering, just Allen keys, patience, and a belt that matches your model. If this is your first walking pad belt replacement, expect to learn a genuinely useful skill — belt tensioning and alignment are the same fundamentals behind most walking pad maintenance.
This guide covers the signs your belt is done, how to rule out simple fixes, finding the exact replacement belt, and an eight-step walkthrough — plus the tension and alignment steps that make or break the result.
Table of Contents
Quick Answer: Walking Pad Belt Replacement
| Question | Answer |
|---|---|
| When does a belt need replacing? | Frayed edges, smooth/bald center, cracks, persistent slipping after tensioning, or visible delamination. |
| Can you DIY it? | Yes — it’s a mechanical job (bolts and rollers), not electrical. Unplug the pad first. |
| How do you find the right belt? | Match by exact model number from the manufacturer; measure length × width as backup. |
| How long does it take? | 45–90 minutes for a first-timer, including tensioning and test walks. |
| Biggest mistake? | Buying a “universal” belt that doesn’t match your pad’s exact dimensions. |

7 Signs Your Walking Pad Belt Needs Replacing
Belts rarely die suddenly — they telegraph their decline for weeks. Here’s what to look for:
- Frayed or curling edges. The belt’s edges take the most abuse. Fraying means the fabric backing is breaking down.
- A smooth, shiny center strip. A healthy belt has texture for grip. When the middle goes bald and slick, traction is gone.
- Cracks or splits in the surface. Even hairline cracks spread under load. One visible crack means replacement time.
- Slipping that tensioning can’t fix. If you’ve tightened per the manual and it still hesitates, the belt has stretched beyond adjustment — rule out simpler causes in our walking pad belt slipping fix guide first.
- Delamination. Bubbles or separations between the belt’s layers mean the bonding has failed. This only gets worse.
- Uneven wear or a permanent drift. A belt that constantly creeps to one side despite alignment adjustments is worn unevenly.
- Mileage. Most walking pad belts last 3,000–5,000 miles with proper lubrication. Heavy daily users can hit that in 2–3 years.
Caution: several symptoms also come from a dry deck or loose belt. Lubricate and tension first — a fifteen-minute job that saves many belts. Our walking pad maintenance schedule covers the routine that maximizes belt life.
How Long Do Walking Pad Belts Last? Typical Mileage
Knowing your belt’s expected lifespan helps you plan a walking pad belt replacement before the old belt starts damaging the deck. Most manufacturers rate their belts at 3,000–5,000 miles, but real life varies with how you walk:
| Usage level | Daily walking | Typical belt life | Calendar equivalent |
|---|---|---|---|
| Light | Under 30 min/day | 4,000–5,000 miles | 4–6 years |
| Moderate | 30–90 min/day | 3,000–4,000 miles | 2–4 years |
| Heavy | 2+ hours/day | 2,000–3,000 miles | 1.5–2.5 years |
What shortens belt life: a dry deck (friction is the number-one killer), over-tightening, heavy users walking at high speeds, dusty environments, and walking in outdoor shoes that grind grit into the belt surface. What extends it: silicone lubrication every few months, correct tension, and indoor-only shoes. A well-maintained belt in a light-use home office can genuinely last five years — which is why the maintenance routine in our walking pad maintenance schedule pays for itself many times over before you ever need a walking pad belt replacement. Track your mileage or hours if your pad’s app reports them; knowing where you stand against the 3,000-mile mark takes the guesswork out of planning a walking pad belt replacement.
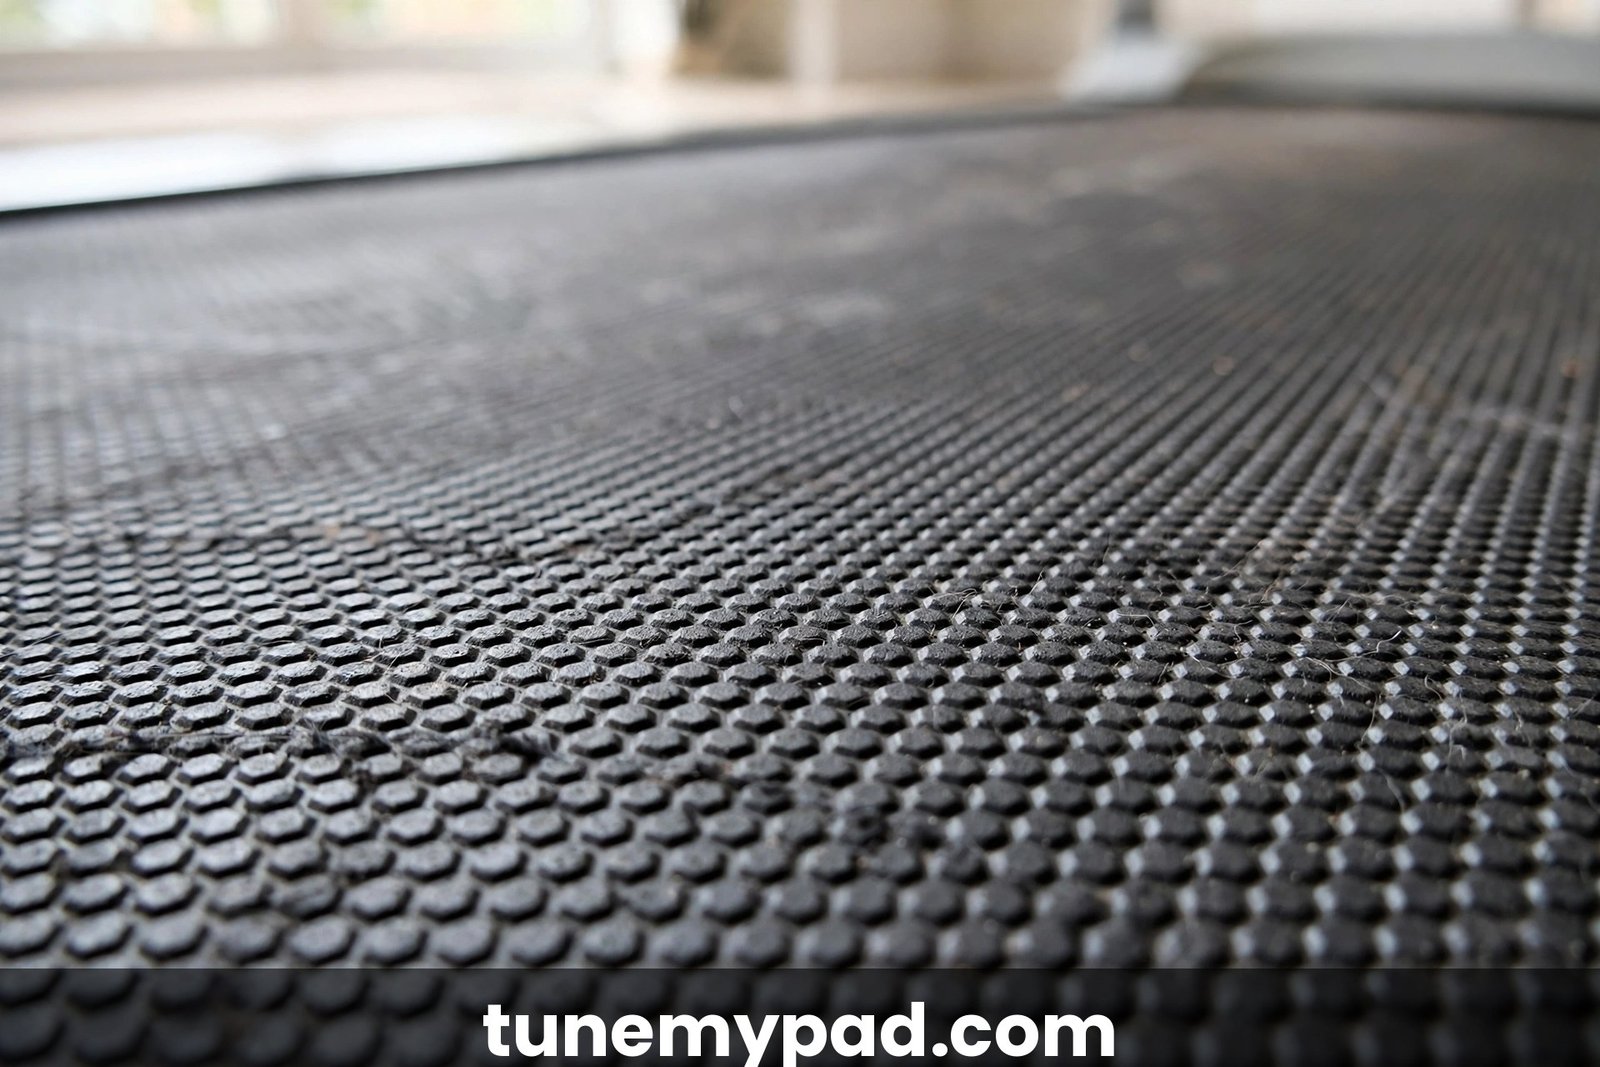
Replacement vs Adjustment: Do You Really Need a New Belt?
Before ordering parts, make sure the belt is actually dead:
| Symptom | Try this first | Replace if |
|---|---|---|
| Belt slips underfoot | Tension rear roller bolts ¼ turn each side | Still slips after proper tensioning |
| Belt drifts left/right | Align with rear bolts (tighten the side it drifts toward) | Drifts again within days of aligning |
| Squeaking or rubbing noise | Lubricate the deck; check for debris | Noise persists with a lubed, clean deck |
| Feels sluggish | Lubricate; check belt tension | Motor strains even with correct tension and lube |
| Visible surface wear | Nothing — cosmetic scuffs are fine | Fraying, cracks, bald spots, or delamination |
Rule of thumb: adjustment fixes behavior, replacement fixes material. Fraying, cracking, or delaminating means the material is done — no tensioning or lubricant brings it back. If the material looks intact, work through adjustments first.
Finding the Right Replacement Belt
This step determines success: walking pad belts aren’t interchangeable across brands — length, width, thickness, and texture all matter.
Start with your exact model number. Find it on the rating label (usually the pad’s underside or rear) and order the belt the manufacturer lists for that model — the only guaranteed fit. Many brands keep belts in stock for current and recent models.
Measure as backup. If the manufacturer can’t help, measure the old belt: length (around the full loop), width, and thickness. Record to the millimeter — 5 mm too narrow means endless drift; too short won’t tension.
Avoid “universal” belts. Generic belts rarely match walking pad dimensions. A close-but-wrong belt causes chronic alignment problems and fast wear — the small savings aren’t worth months of frustration.
Check what’s included. A proper replacement kit should be just the belt — but confirm whether your model needs new deck lubricant or replacement roller bolts at the same time. Ordering everything at once saves a second shipping wait.
Warranty check. If your pad is still under warranty, the manufacturer may supply the belt free or cover the repair. Check what a walking pad warranty covers before spending your own money.
How Much Does a Walking Pad Belt Replacement Cost?
A walking pad belt replacement is refreshingly cheap compared to almost any other fitness equipment repair. The belt itself is inexpensive; the only real question is whether you do the hour of labor yourself:
| Option | Typical cost | What’s included |
|---|---|---|
| DIY with manufacturer belt | $30–$80 | Belt only; your labor and basic tools |
| DIY with third-party belt | $25–$60 | Belt only; higher risk of fit issues |
| Local repair shop | $100–$180 | Belt plus labor; 45–90 min of bench time |
| Manufacturer service visit | $120–$200+ | OEM belt, professional install, warranty-safe |
| Deck lubricant (add-on) | $8–$15 | Silicone lube you’ll need during installation anyway |
For most people, DIY is the obvious choice — the job is mechanical, the tools are usually in the box the pad shipped in, and there’s no electrical risk as long as the pad stays unplugged. Professional installation only makes sense if the pad is under a warranty that requires authorized service, or if you genuinely don’t want to spend an hour on it. Either way, a walking pad belt replacement at $30–$80 DIY is a fraction of the $200–$500 a new pad costs, which makes it one of the best-value repairs in home fitness.
Walking Pad Belt Replacement Tools: What You Need
You probably own everything already. Gather these before you start a walking pad belt replacement so you’re not hunting mid-job:
- Allen keys (hex wrenches) — usually included with the pad; the rear roller bolts are almost always hex.
- Phillips screwdriver — for the motor cover and end-cap screws on some models.
- Silicone belt lubricant — apply to the deck during installation; check your manual for the recommended type.
- Clean cloth and mild cleaner — for wiping the deck with the belt off.
- Measuring tape or ruler — to double-check the new belt’s dimensions against the old one before installing.
- Phone camera — photograph bolt positions, cable routing, and screw locations before disassembly.
- Marker or tape — mark the original tension-bolt positions so you have a sane starting point.
- A second pair of hands (optional) — helpful when sliding the new belt over the rollers, but not required.
No power tools, no soldering iron, no multimeter. If your “tools” drawer has an Allen key set and a screwdriver, you’re equipped for a walking pad belt replacement. Lay everything out on a towel beside the pad before you unplug anything — a walking pad belt replacement goes twice as fast when you’re not hunting for the screwdriver mid-step.
8 Easy Steps for Walking Pad Belt Replacement
Set aside an hour, clear space around the pad, and photograph bolt positions and cable routing before you start.
- Unplug the pad. Non-negotiable. The belt job is mechanical, but the motor and electronics are inches away — work on a dead machine.
- Remove the motor cover and end caps. Most pads have a plastic cover over the front roller and snap-on rear end caps. Note where every screw came from; a photo saves guesswork later.
- Release the belt tension. Loosen the rear roller adjustment bolts evenly — count the turns on each side so you can return to a sane starting point later. The belt should go slack.
- Remove the rear roller. Slide it out of the belt loop. On most walking pads the roller lifts straight out once tension is released; some models need the side rails loosened first.
- Slide the old belt off. Work it off the deck and front roller. Note which side faced up and the direction of travel — your new belt goes on the same way.
- Clean the deck. With the belt off, wipe the deck clean and apply fresh silicone lubricant per your manual. A new belt on a dry, dirty deck wears out fast.
- Install the new belt. Reverse the removal: slide the belt over the deck and rollers, reinstall the rear roller, and snug the tension bolts to your counted starting point.
- Reassemble and tension. Replace covers, plug in, and run at low speed with no load. Center with the rear bolts (tighten the side the belt drifts toward), then tension in ¼-turn increments until it stops slipping underfoot.
Take a short test walk at 2 mph before calling it done. New belts sometimes need a second alignment pass after ten minutes of use as they settle onto the rollers. If anything feels off during the test walk — hesitation, drift, rubbing — resist the urge to crank bolts randomly; small, counted adjustments are the whole discipline of a successful walking pad belt replacement.
Tension and Alignment After Replacement
This is where DIY belt jobs succeed or fail: too loose slips, too tight strains the motor and wears the deck.
The lift test. With the pad unplugged, lift the belt at the center of the deck. You should be able to lift it 2–3 inches (5–7 cm). Less means too tight; much more means too loose. Adjust the rear roller bolts in quarter-turn increments, keeping both sides even.
The slip test. Start at 2 mph and walk normally. If the belt hesitates underfoot, tighten both rear bolts a quarter turn and retest. Repeat until the hesitation disappears — then stop. Over-tightening is the most common DIY error.
The centering check. Watch the belt for a full minute at 3 mph with no load. It should run centered. If it drifts, tighten the rear bolt on the side it drifts toward in small increments — this is counterintuitive but correct. Recheck after each adjustment.
The break-in walk. New belts stretch slightly in the first week. Recheck tension and centering after your first few walks; a single quarter-turn touch-up is normal. Most walking pad belt replacement jobs aren’t truly finished until this second check — the belt needs a few miles to settle before its final tension is set.

When a Walking Pad Belt Replacement Isn’t Worth It
A walking pad belt replacement is the right call most of the time — but not always. Be honest about the pad’s overall condition before ordering parts:
- The deck is warped, cracked, or deeply grooved. A new belt on a ruined deck wears out in months. If the deck needs replacing too, price both parts before committing.
- The motor is already struggling. If the motor strains, overheats, or smells with a correctly tensioned and lubricated belt, a new belt won’t save it.
- Multiple failures at once. Belt plus dead console plus wobbly frame equals a pad that’s telling you it’s done.
- The pad is 5+ years old with heavy use. Even with a fresh belt, other components are on borrowed time.
- Parts cost more than half a new pad. A $60 belt for a $150 pad that’s already limping is throwing good money after bad.
The math that matters: a walking pad belt replacement makes sense when the rest of the pad is healthy. If the motor runs strong, the deck is smooth, and the electronics work, a new belt genuinely returns the pad to like-new condition. If you’re stacking repairs, compare the total against current pad prices — walking pad prices have fallen steadily, and sometimes the upgrade is the smarter spend. Run the numbers honestly before ordering parts: a walking pad belt replacement should feel like a rescue, not a gamble. For sourcing parts either way, see where to buy walking pad replacement parts.
Common Mistakes That Ruin a New Belt
- Buying the wrong size. A belt that’s close but not exact will never track straight. Match the model number, not your best guess.
- Skipping deck lubrication. New belt on a dry deck is the fastest way to kill it. Lubricate during installation.
- Over-tightening. Cranking the bolts “to be safe” overloads the motor and bearings. Use the lift test, not muscle memory.
- Uneven bolt turns. Adjusting one side more than the other guarantees drift. Count turns and keep sides even.
- Forgetting the test walk. Alignment that looks perfect empty can drift under load. Always test with a real walk.
- Reusing a damaged deck. If the deck itself is warped, cracked, or deeply grooved, a new belt won’t fix the underlying problem — the deck needs attention too.
Maintaining Your New Belt So It Lasts Longer
You just did a walking pad belt replacement — now make this belt outlast the last one. The maintenance routine is simple and takes minutes a month:
- Lubricate on schedule. Apply silicone lubricant every 3 months or every 40 hours of use, whichever comes first. Set a phone reminder; “I’ll do it when it squeaks” is how belts die young.
- Check tension monthly. The lift test takes thirty seconds. Catch stretch early with a quarter-turn before it becomes slipping.
- Watch centering. A quick glance at the belt edges during your first walk of the week catches drift before it becomes uneven wear.
- Wipe the belt down. Sweat and dust work into the belt texture. A damp cloth wipe-down weekly keeps the surface gripping properly.
- Wear indoor-only shoes. Outdoor shoes grind grit into the belt — grit is sandpaper on both belt and deck.
- Keep the pad clean underneath. Dust bunnies around the motor vents make the motor run hotter, and heat ages everything faster.
Follow this and your next walking pad belt replacement will be years away instead of months. The belt you just installed is capable of 3,000–5,000 miles — maintenance is what decides which end of that range you get. Think of it this way: every lubrication session is a small down payment against your next walking pad belt replacement, and it is the cheapest one you will ever make.
FAQs: Walking Pad Belt Replacement
How much does a walking pad belt replacement cost?
The belt typically runs $30–$80 from the manufacturer. Professional installation usually adds $75–$150 for a service visit. DIY costs only the belt plus an hour.
How long does a walking pad belt last? Knowing that lifespan helps you schedule a walking pad belt replacement before the old belt starts grinding the deck.
Typically 3,000–5,000 miles with regular lubrication and correct tension — roughly 2–4 years of daily walking. Dry decks, over-tightening, and heavy users at high speeds shorten that; proper maintenance extends it.
Can I use a treadmill belt on a walking pad? Wrong-size belts are the single biggest reason a walking pad belt replacement fails on the first try.
No — walking pad belts have different dimensions than full-size treadmill belts and aren’t interchangeable. Always order the belt specified for your exact walking pad model.
Do I need to lubricate a brand-new belt?
Yes. Apply silicone lubricant to the deck during installation, per your manual’s guidance. A new belt on a dry deck wears prematurely and makes the motor work harder from day one.
Why does my new belt keep drifting to one side? Centering is the fiddliest part of a walking pad belt replacement — quarter turns, patience, and a level pad.
Almost always uneven rear-roller tension. With the pad running at low speed and no load, tighten the rear bolt on the side the belt drifts toward in quarter-turn increments until it centers. If it won’t hold center, double-check that the belt matches your model’s exact dimensions.
Is belt replacement covered under warranty?
Sometimes. Many warranties cover parts (including belts) for 1–2 years but exclude wear-and-tear or require professional installation. Check your warranty terms — and don’t open the housing beyond the belt area if the warranty requires authorized service.
How tight should a walking pad belt be after replacement?
Use the lift test: with the pad unplugged, you should be able to lift the belt 2–3 inches (5–7 cm) at the center of the deck. That’s the sweet spot for any walking pad belt replacement — tight enough not to slip underfoot, loose enough not to strain the motor. If you can barely lift it, back the rear bolts off; if it lifts four inches or more, tighten up.
Can I walk on the new belt immediately after a walking pad belt replacement?
Yes, once the tension and centering checks pass — but take it easy for the first week. New belts stretch slightly as they settle onto the rollers, so do a couple of short, low-speed walks, then recheck tension and alignment. Think of it as a break-in period: one quarter-turn touch-up after the first few walks is completely normal and expected.
Why is my new belt hot after walking?
Some warmth is normal — friction generates heat. But if the belt is genuinely hot to the touch after a walking pad belt replacement, something’s off: usually over-tightening or a dry deck. Run the lift test, confirm you lubricated during installation, and back the tension off a quarter-turn. Persistent heat with correct tension and lube is worth a call to the manufacturer.
Does a new walking pad belt need a break-in period?
Lightly, yes. The belt material relaxes and seats itself on the rollers over the first week of use, which is why a post-installation walking pad belt replacement check matters: re-verify tension and centering after your first three to five walks. You don’t need to do anything special during break-in — just normal walking at your usual pace, then one final quarter-turn tune-up if needed. Skipping this follow-up check is the most common reason a walking pad belt replacement feels “almost right” instead of perfect.
Conclusion
Walking pad belt replacement is one of the most satisfying DIY repairs: an hour of careful work, no electrical risk, and a pad that walks like new. The keys: a belt matching your exact model, a lubricated deck, and patient quarter-turn tensioning. And when the walking is quiet and centered again, the whole walking pad belt replacement job pays for itself in the first week.
External References
- U.S. Consumer Product Safety Commission — Federal safety guidance and recall database for home exercise equipment.
- Electrical Safety Foundation International — Safety basics for unplugging and servicing corded home equipment.